Since this is a simulation service, we will just create a single database table to contain relevant data and manually add some data there so we get the simulator working.
Using the SQL*Developer create a table called VEHICLE_STATUS. SQL Developer is Oracle’s free graphical tool for managing databases. I’ve been using as a convenient tool for quickly creating tables, populating them with data for test purposes. You can also easily extract and import table definitions or table contents.
You can download SQL Developer from: http://www.oracle.com/technetwork/developer-tools/sql-developer/downloads/index.html
After you have installed it, you simply start it by double-clicking on the program icon.
Create connection
First thing to do with a newly installed SQL Developer is to
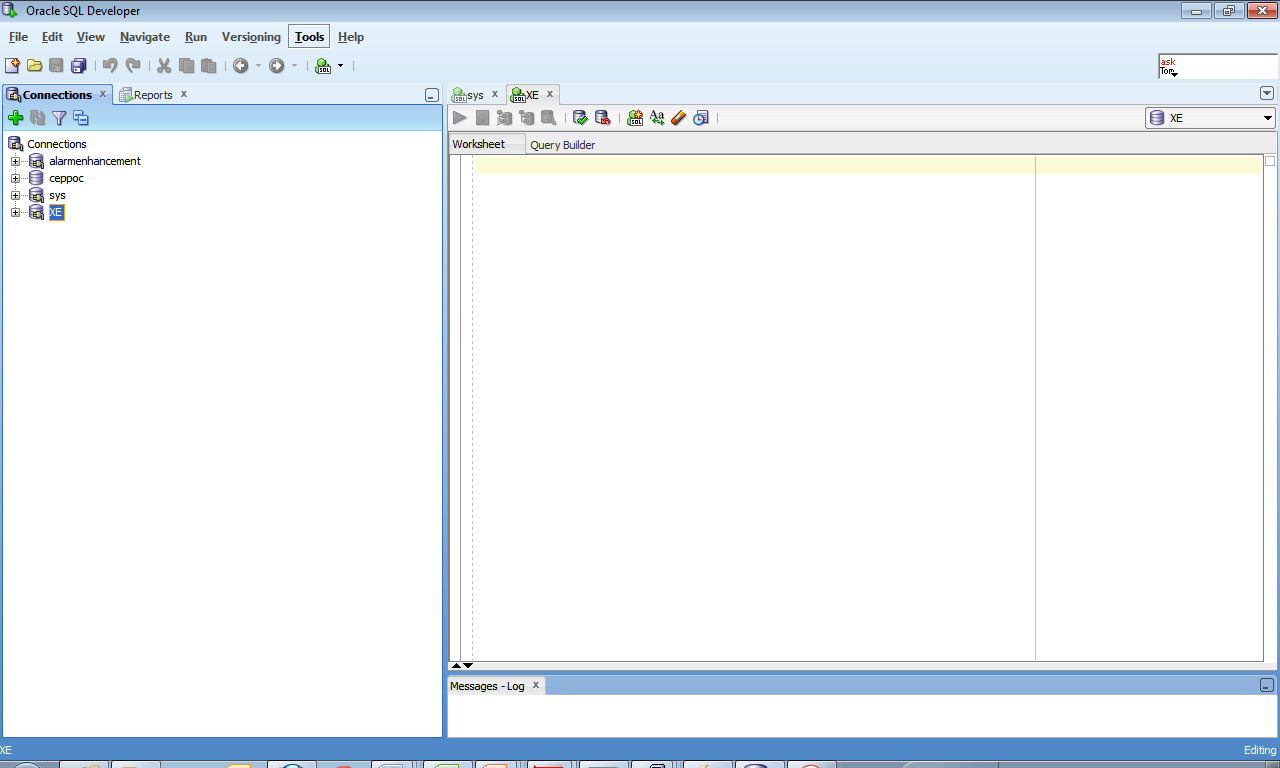
create at least one connection to a database. The main window can be seen
below. In my environment I have a few connections earlier so your screen will
look more blank.
Create a new connection by pressing the large green plus
sign at the toolbar, this start the wizard.
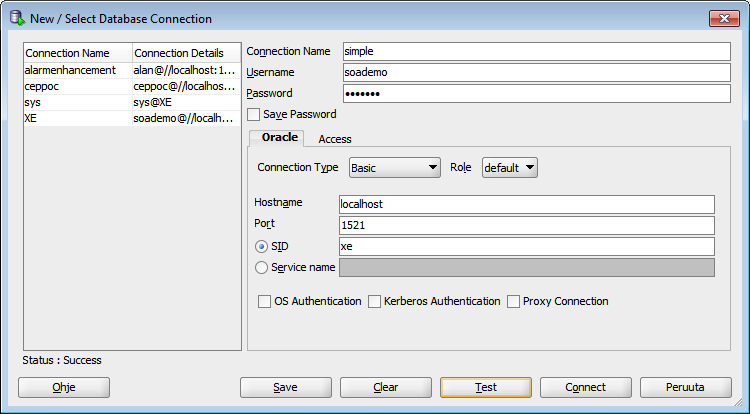
After adding the hostname and username, password you can
test the connection by pressing the ‘Test’ button. If the end-result is
successful, you can press Finish and the new connection is created.
You can open the connection by pressing the + sign next to
it. If you want to view the tables under this user, you can press the + sign
next to the tables . In the image below you can see a few tables already there
from previous work.
Create tables
Place cursor over the tables selection and pressing the
right mouse button. Select the “New Table…”
Give the table name and add columns LICENSE_NUMBER VARCHAR2
(16), STATUS VARCHAR2(16).
You can add columns by pressing the add column button at the
bottom. SQL Developer names the columns COLUMN1, COLUMN2. You can directly
change their names and types by going to the right field, clicking once and
cursor moves to that field and you can start editing it.
Make LICENSE_NUMBER the primay key. Make both LICENSE_NUMBER
and STATUS as “Not Null”.
Add data to the newly
created table
You can directly add and modify data in the newly created
table via SQLDeveloper.
Click on the data table and you are taken to a screen that
allows you direct editing.
Press the button that looks like a page with a green buttom
at the bottom on the right side. This creates a new field and you can directly
add values there. Pressing it again creates another row for additional data.
All buttons on the toolbar have tooltips so if you want to
know what they are, place the mouse over them and after a while an explanation
is shown.
You can commit all your changes by pressing the button that
looks like a barrel with a green ok sign
We are pretty much done with this phase and can move to
actually creating the composite service.


Ei kommentteja:
Lähetä kommentti